
5 Key Traits of a Top Thermocouple Manufacturer
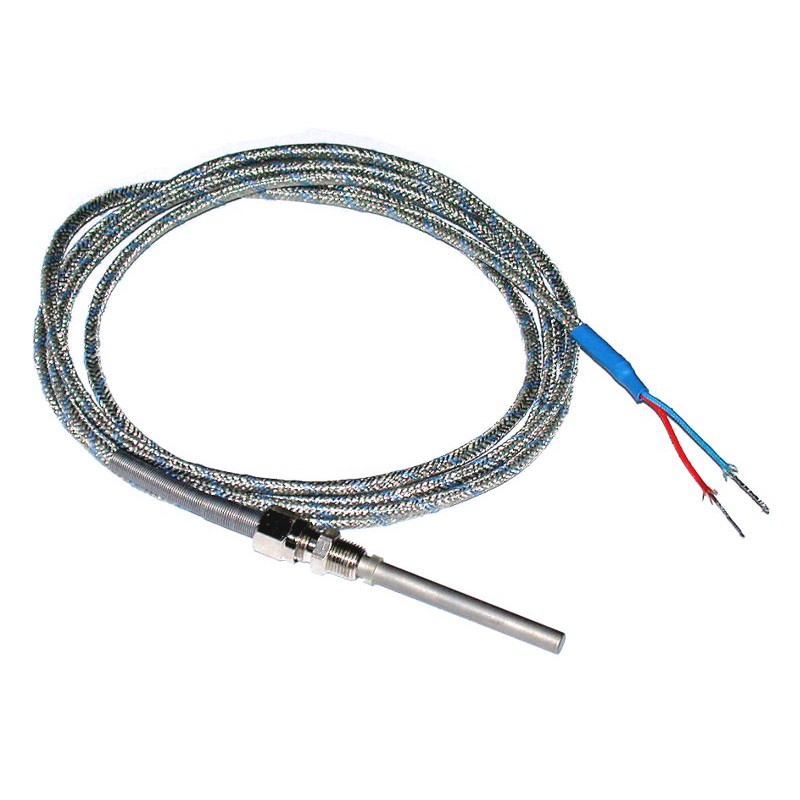
In the world of industrial processes, accurate temperature measurement is king. A thermocouple manufacturer plays a crucial role in crafting these essential sensors that help industries like manufacturing, energy production, and even cooking maintain precise temperature control. But with so many companies offering thermocouples, how do you choose the right one? This article explores the 5 key traits that distinguish a top thermocouple manufacturer from the rest: Wide Range of Thermocouple Types and Materials: Thermocouples come in various types, each suited for specific temperature ranges and environments. A top manufacturer offers a diverse selection, including: Type K Thermocouples: These general-purpose thermocouples are ideal for measuring temperatures between -268°C (-450°F) and 1370°C (2498°F). They are known for their affordability and wide operating range. Type J Thermocouples: These iron-constantan thermocouples are commonly used for measuring temperatures between -210°C (-346°F) and 1200°C (2192°F). They offer good stability and oxidation resistance. Type T Thermocouples: Made from copper and constantan, Type T thermocouples are suitable for measuring low-temperature applications ranging from -268°C (-450°F) to 350°C (662°F). They are known for their high accuracy at lower temperatures. Type N Thermocouples: These nickel-chromium thermocouples excel in high-temperature applications, measuring temperatures between -268°C (-450°F) and 1300°C (2372°F). They offer excellent oxidation resistance and long service life at high temperatures. Commitment to Quality and Accuracy: Accuracy is paramount in temperature measurement. A top thermocouple manufacturer prioritizes quality control, ensuring their products meet strict industry standards. Look for manufacturers with certifications like ISO 9001, which demonstrates their commitment to quality management systems. Here are some additional quality indicators: Calibration Services: Top manufacturers offer in-house or third-party calibration services to ensure your thermocouples maintain their accuracy over time. Traceable Certificates: Reputable manufacturers provide traceable certificates with each thermocouple, documenting its calibration history and ensuring its reliability. Use of High-Quality Materials: Top manufacturers use premium materials for both the thermocouple wire and the sheath, guaranteeing durability and long-lasting performance. Customization Capabilities: Industrial processes often demand unique temperature measurement solutions. A top thermocouple manufacturer offers customization options to cater to specific needs. This might include: Custom Probe Lengths and Diameters: Standard thermocouples may not fit all applications. Top manufacturers can create probes with lengths and diameters tailored to your specific needs. Special Sheath Materials: For harsh environments with extreme temperatures or corrosive chemicals, a top manufacturer can offer thermocouples with specialized sheath materials for enhanced durability. Integrated Connectors and Terminations: Top manufacturers can provide thermocouples pre-assembled with connectors and terminations that match your existing equipment, simplifying installation. Excellent Customer Service and Support: When it comes to industrial equipment, reliable customer service is essential. A top thermocouple manufacturer offers exceptional support throughout the buying process and beyond. Here’s what to look for: Knowledgeable Sales Representatives: A top manufacturer provides knowledgeable sales representatives who can understand your specific needs and recommend the most suitable thermocouple solution. Technical Support: Look for a manufacturer with a dedicated technical support team to answer your questions and troubleshoot any issues that may arise. Fast Response Times: Prompt communication and response times are crucial for addressing any concerns or technical difficulties you may encounter. Competitive Pricing and Value: While cost is a factor, it shouldn’t be the sole deciding point. A top thermocouple manufacturer strikes a balance between competitive pricing and exceptional value. Consider factors like: Total Cost of Ownership: Look beyond the initial purchase price and consider the long-term costs. A high-quality thermocouple from a reputable manufacturer may cost slightly more upfront but will likely last longer and require less frequent replacement, saving you money in the long run. Warranty and Guarantees: A top manufacturer offers a comprehensive warranty on their products, demonstrating their confidence in their quality and performance.
6 Installation Tips for Warm Floor Heating Cables
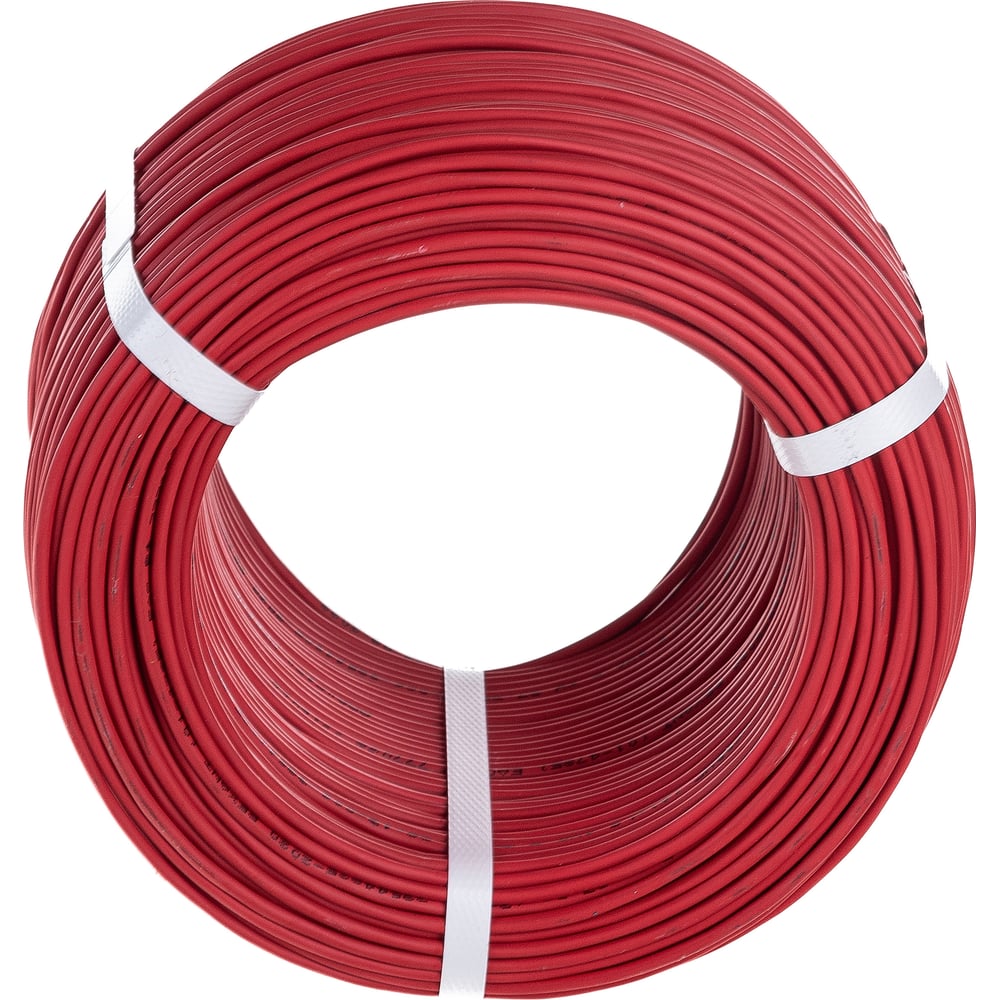
Imagine stepping onto a toasty floor on a chilly morning. No more scrambling for slippers or dreading the cold tiles in the bathroom. Warm floor heating cables make this dream a reality, providing radiant heat that warms your entire room from the ground up. But before you enjoy the comfort, proper installation is key. Here are 6 essential tips to ensure a smooth and successful warm floor heating cable installation: Planning is Key: Measure Twice, Cut Once! Before diving into installation, take the time to plan your project carefully. Here’s what you need to consider: Measure Your Floor Space: Accurately measure the square footage of your floor to determine the amount of heating cable needed. Most cables come pre-measured in specific lengths, so knowing your floor area helps you choose the right cable quantity. Choose the Right Cable Type: Different warm floor heating cables are designed for various floor types (concrete, wood subfloor, etc.) and heating needs (primary or secondary heat source). Consult a professional or refer to the manufacturer’s instructions for the best cable type for your project. Map Out the Cable Layout: Sketch a plan for the cable layout on your floor. This ensures even heat distribution and avoids placing furniture or fixtures directly over the cables. Consider factors like thermostat placement and furniture arrangement when creating your layout. Prepare Your Subfloor: A clean and even subfloor is essential for optimal cable performance and installation ease. Here are the steps: Remove Existing Floor Coverings: Remove any existing flooring materials like carpet, tile, or vinyl. Ensure a clean and smooth subfloor surface. Level Uneven Floors: If your subfloor has uneven areas, use a self-leveling compound to create a flat and even surface for the heating cable installation. Check for Subfloor Compatibility: Some subfloor materials like certain types of wood may require additional preparation or may not be compatible with warm floor heating cables. Always refer to the manufacturer’s instructions for specific compatibility information. Cable Installation: Follow the Path to Warmth! With a clean and leveled subfloor, it’s time for the magic to happen! Here’s how to install the warm floor heating cables: Secure the Heating Cable: Use the provided adhesive mat or mesh to secure the heating cable to the subfloor according to your pre-planned layout. Ensure the cable maintains a consistent spacing as recommended by the manufacturer (usually 4-6 inches apart). Maintain Cable Spacing: Avoid overlapping or crossing the heating cable as this can create overheating and damage the system. Connect the Cable to the Thermostat: Run the cable end back to the designated location for the thermostat, following the manufacturer’s instructions for proper connection. Test and Inspect: Safety First! Before proceeding with the final floor installation, it’s crucial to test the heating system for functionality and safety. Here’s what to do: Perform a System Test: Connect the thermostat and power on the system. Follow the manufacturer’s instructions on testing the heating cable for proper operation. Inspect Cable for Damage: Visually inspect the entire length of the cable for any cuts, tears, or damage that may have occurred during installation. A damaged cable can pose a safety risk and should be replaced. Apply Self-Leveling Underlayment (Optional): For certain floor types like tile, a self-leveling underlayment compound can be applied over the heating cable installation. This creates a smooth and even surface for tile installation and improves heat transfer. Install Your Final Floor Covering: Once the system is tested and approved, you can proceed with installing your chosen final floor covering. Ensure the chosen flooring material is compatible with warm floor heating systems. Bonus Tip: Professional Help is Available! While these tips can guide you through the warm floor heating cable installation process, it’s always recommended to consult a qualified electrician or heating professional for complex installations or if you’re unsure about any aspect of the project. Their expertise can ensure a safe and efficient installation, maximizing the comfort and longevity of your warm floor heating system. Wrap Up By following these tips and carefully considering your project’s specific needs, you can successfully install warm floor heating cables and enjoy the luxurious comfort of radiant heat in your home. Remember, planning, proper preparation, and following the manufacturer’s instructions are key to a successful and safe installation. So, get ready to step onto warm floors and enjoy the cozy difference!