Heating cables are essential for preventing pipes from freezing, melting snow, or maintaining consistent temperatures. If you’re working with heating cables, understanding how to connect them safely and efficiently is crucial. In this guide, we’ll break down the steps in simple terms.
Whether you’re a DIY enthusiast or a professional, this article is here to help. Stay safe and ensure proper installation with these tips from heating cable manufacturers.
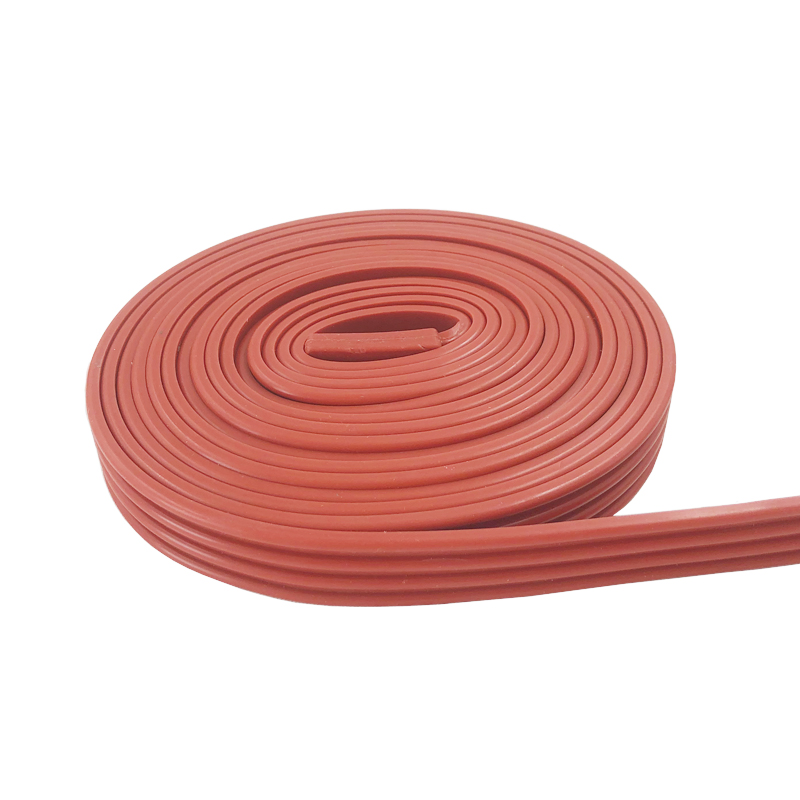
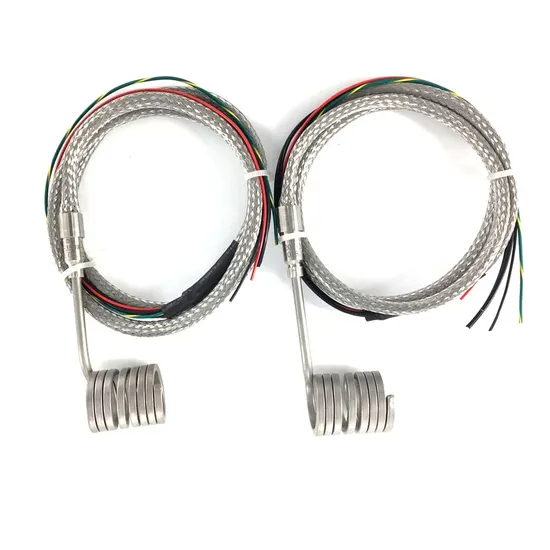
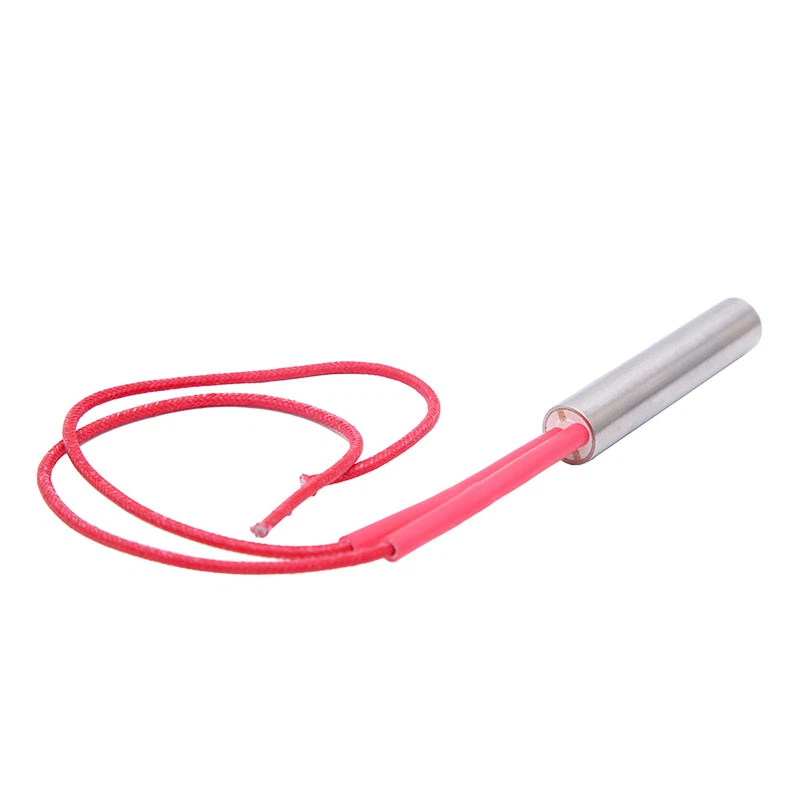
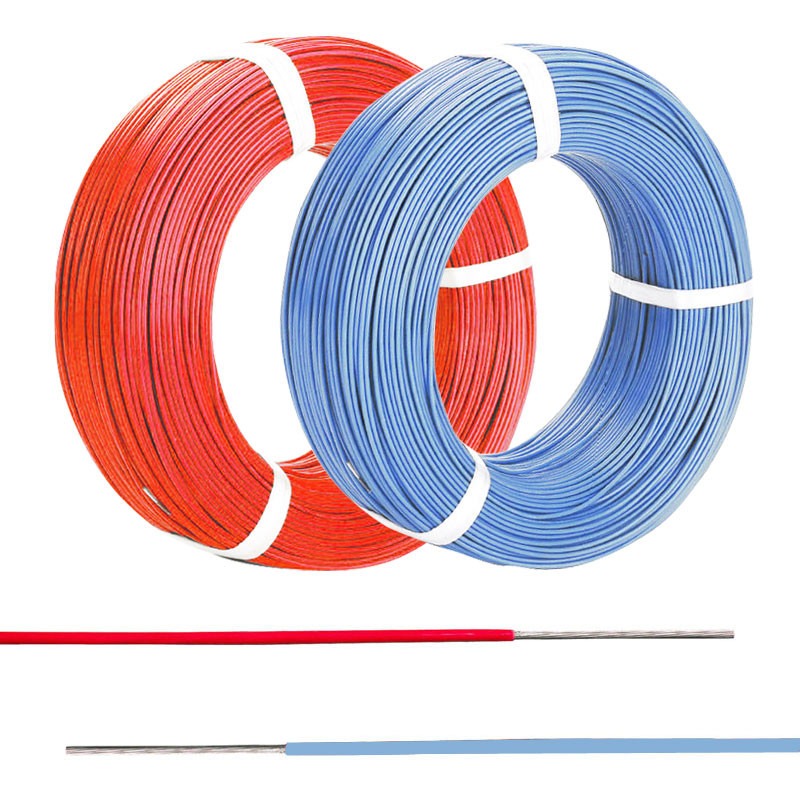
What Are Heating Cables?
Heating cables are electric wires designed to generate heat. They are widely used for:
- Preventing frozen pipes: They keep water flowing in cold conditions.
- Roof de-icing: These cables help melt snow on roofs and gutters.
- Floor heating systems: Ideal for adding warmth to indoor spaces.
- Industrial applications: Useful in processes requiring consistent heat.
They are easy to install with the right tools and knowledge. Now, let’s move to the connection process.
Tools You Will Need
Before starting, gather these tools for a smooth installation:
- Heating cable kit (check specifications from the manufacturer)
- Electrical tape or heat-shrink tubing
- Screwdrivers
- Voltage tester
- Wire strippers
Having the right tools ensures safety and efficiency.
Step-by-Step Guide to Connect Heating Cable
1. Read the Manufacturer’s Instructions
Each heating cable is unique. Always start by reviewing the manual. It includes important information like voltage ratings, temperature limits, and specific installation requirements.
2. Turn Off the Power
Safety is vital. Switch off power at the circuit breaker before working on any electrical connections.
3. Prepare the Heating Cable
- Inspect the cable: Ensure there are no cuts, wear, or damage.
- Measure and cut if necessary: Follow the manufacturer’s guidelines for cutting the cable, if allowed.
- Strip the insulation: Expose the inner wires carefully using a wire stripper.
4. Connect to the Power Source
- Identify the wires: Typically, heating cables have hot, neutral, and ground wires.
- Attach wires securely: Connect the wires to the power source, ensuring proper alignment (hot to hot, neutral to neutral).
- Secure connections: Use wire nuts or terminal blocks for a tight fit.
5. Apply Insulation
- Wrap the connections with electrical tape or heat-shrink tubing.
- This protects against moisture, dirt, and accidental contact.
6. Test the Connection
- Use a voltage tester to ensure power flows correctly.
- Check for any faults or loose connections.
7. Install the Heating Cable
- Position the cable: Place it along the pipe, roof, or surface you want to heat.
- Secure the cable: Use approved clips or ties to hold it in place.
- Avoid overlapping: Overlapping can cause overheating and damage.
8. Power Up the System
- Turn the power back on at the circuit breaker.
- Monitor the system to ensure proper heating performance.
Safety Tips for Connecting Heating Cable
- Never cut the heating element unless specified: This can damage the cable.
- Use GFCI-protected circuits: They help prevent electrical shocks.
- Inspect regularly: Check the cables and connections periodically for wear and tear.
- Follow local codes: Ensure the installation complies with electrical safety standards.
Common Mistakes to Avoid
Here are some errors that can lead to inefficiency or hazards:
- Overlapping cables during installation
- Using damaged or faulty wires
- Ignoring the manufacturer’s specifications
- Skipping insulation of exposed wires
Quick Comparison Table of Cable Types

Final Words
Connecting heating cables is straightforward when you follow the correct steps. By using the right tools, following manufacturer instructions, and adhering to safety guidelines, you can ensure a successful installation. Heating cable manufacturers offer various options, so choose one that fits your needs. Keep your home or workspace warm and efficient with properly connected heating cables.