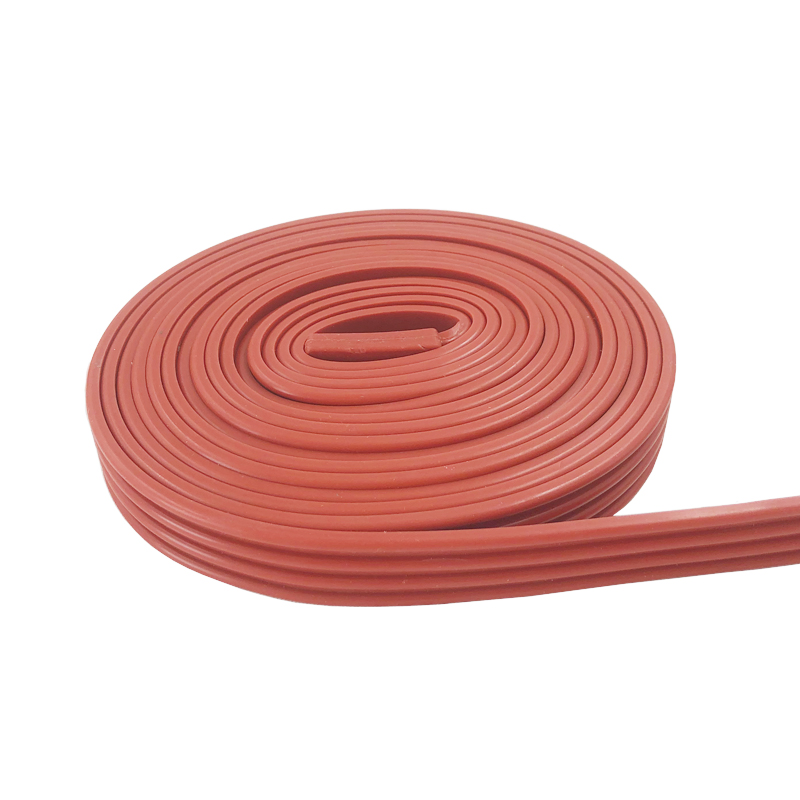
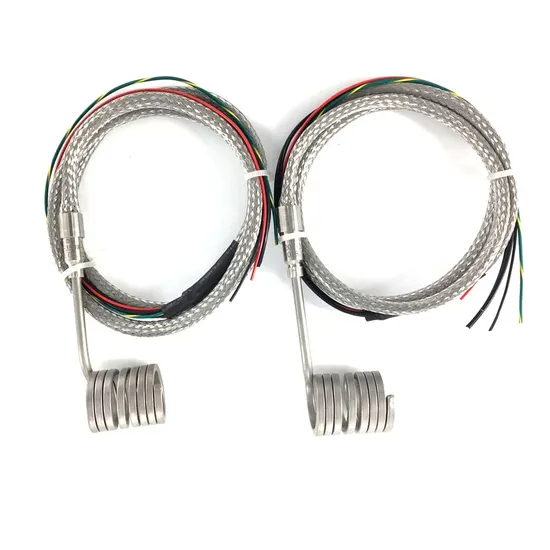
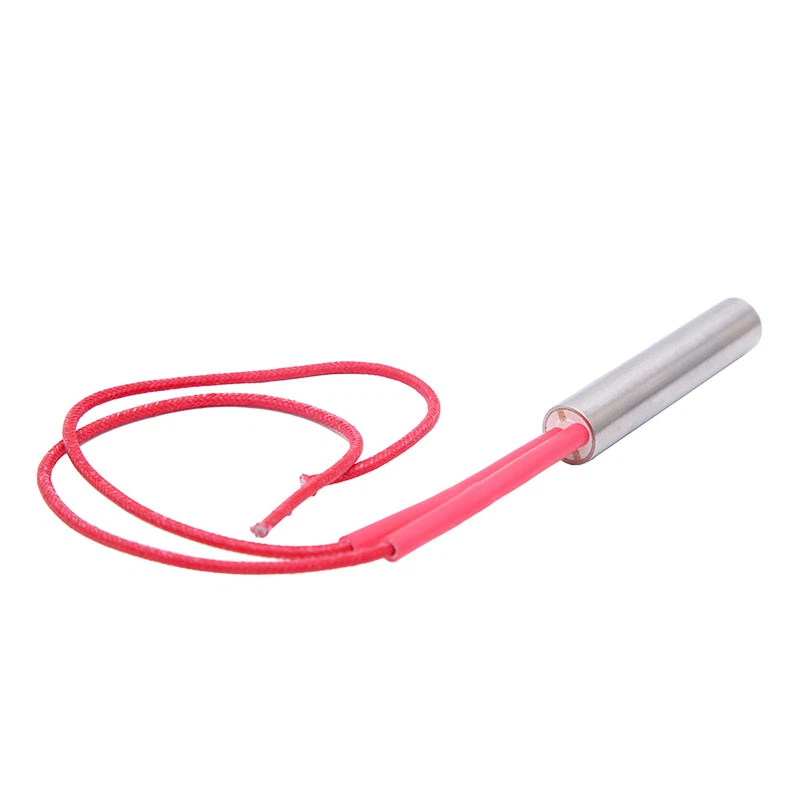
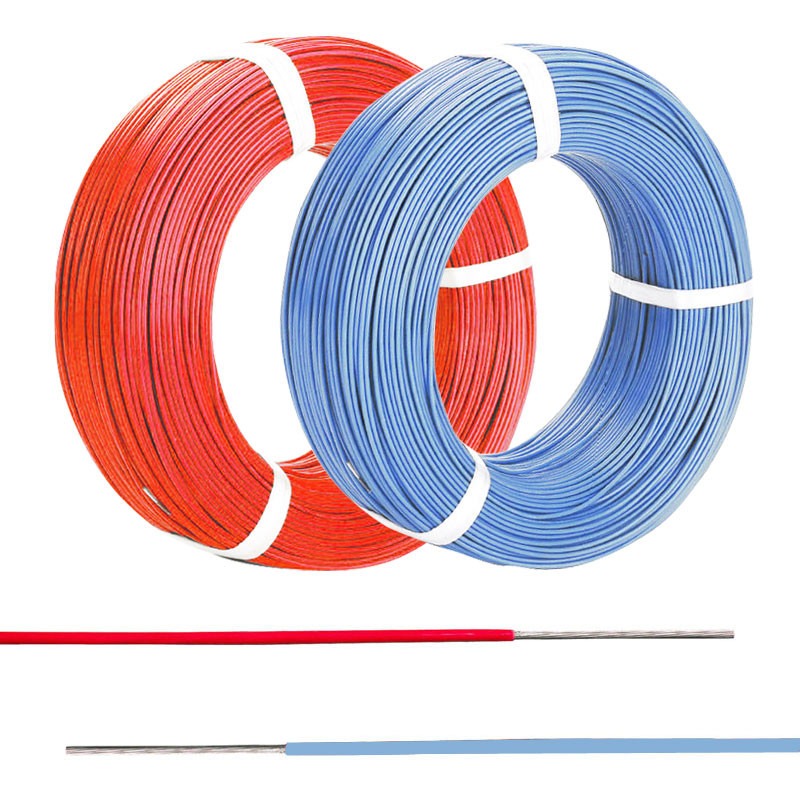
Heating Cable with Controller is essential to keep pipes from freezing or to warm floors during cold weather. Connecting it correctly ensures safety and efficiency. In this short guide, we’ll walk you through the steps to connect a heating cable easily. Follow along, and you’ll have a well-functioning system in no time.
What is a Heating Cable?
A heating cable is an electric wire that generates heat to prevent freezing or provide warmth. It’s commonly used for:
- Protecting outdoor pipes from freezing.
- Keeping roofs and gutters free from ice buildup.
- Warming indoor floors for added comfort.
These cables come with or without controllers. A controller lets you adjust the temperature and monitor performance. This makes it easier to manage energy use and improve safety.
Tools and Materials You’ll Need
Before starting, gather these tools and materials:
- Heating cable with controller.
- Electrical tape.
- A reliable power source.
- Wire connectors.
- A screwdriver.
- Insulation materials (if required).
Having everything ready ensures a smoother setup process.
Step-by-Step Guide to Connecting Heating Cables
Follow these steps to connect your heating cable effectively:
1. Read the Manufacturer’s Manual
Every heating cable may have unique requirements. Always read the instructions provided by the manufacturer. Look for specific details about installation, safety measures, and voltage requirements.
2. Inspect the Cable and Power Supply
Before starting, check the heating cable for any visible damage. Ensure your power supply matches the cable’s voltage and wattage rating. Using the wrong power source can lead to malfunction or safety hazards.
3. Prepare the Area
- Clean the surface where the heating cable will be installed.
- Remove debris, moisture, or grease to ensure proper adhesion.
- Make sure the area is dry to avoid electrical issues.
4. Attach the Heating Cable
For pipes:
- Wrap the cable tightly around the pipe in a spiral pattern.
- Use electrical tape to secure it every few inches.
For roofs or floors:
- Lay the cable flat along the desired path.
- Fix it using cable clips or adhesive strips provided.
5. Connect the Heating Cable to the Controller
If your cable comes with a controller:
- Locate the input terminals on the controller.
- Strip the cable’s ends to expose the wires.
- Connect the wires to the corresponding terminals (e.g., live, neutral, and ground).
- Tighten the screws to secure the connection.
6. Test the Connection
- Plug the controller into the power source.
- Turn it on and set the temperature.
- Check if the cable starts to heat up within a few minutes.
7. Add Insulation (if needed)
For outdoor pipes, add insulation over the heating cable for added protection. Avoid using flammable materials.
8. Ensure Proper Maintenance
- Inspect the cable regularly for wear or damage.
- Replace the cable if you notice exposed wires or reduced heating efficiency.
Safety Tips to Remember
- Never overlap the cable: Overlapping can cause overheating and damage.
- Avoid sharp bends: Sharp angles can weaken the cable and affect performance.
- Use a ground fault circuit interrupter (GFCI): This reduces the risk of electric shock.
- Do not cut the cable: Most heating cables are not designed to be cut to length. Check your manual for details.
Common Mistakes to Avoid
- Failing to read the manual before installation.
- Using an incompatible power source.
- Overlapping the cable during installation.
- Ignoring regular maintenance checks.
Avoid these mistakes to ensure a smooth operation of your heating cable.
Final Thoughts
Connecting a heating cable is straightforward if you follow these steps carefully. Always use a heating cable with controller for better performance and safety. With proper installation, you can protect your home and save on energy costs during the colder months.


